Creating your own beeswax lip balm recipe is a fun and rewarding way to ensure your lips stay soft, hydrated, and protected. This DIY approach allows you to avoid harmful chemicals often found in store-bought products while customizing the balm to suit your preferences. Using simple, natural ingredients like beeswax, coconut oil, and shea butter, you can craft a nourishing lip balm that’s perfect for daily use or as a thoughtful homemade gift. Follow this guide to learn how to make your own beeswax lip balm and enjoy its many benefits!
Benefits of Beeswax Lip Balm
1. Natural Moisturization
Beeswax acts as a natural barrier, locking in moisture and protecting your lips from harsh environmental conditions. It’s especially beneficial during colder months.
2. Chemical-Free
When you make your own lip balm, you eliminate harmful additives and artificial fragrances, ensuring a cleaner, healthier product.
3. Customizable
From choosing the scent to tweaking the texture, a homemade recipe allows you to tailor the lip balm to your unique needs.
Essential Ingredients for Beeswax Lip Balm

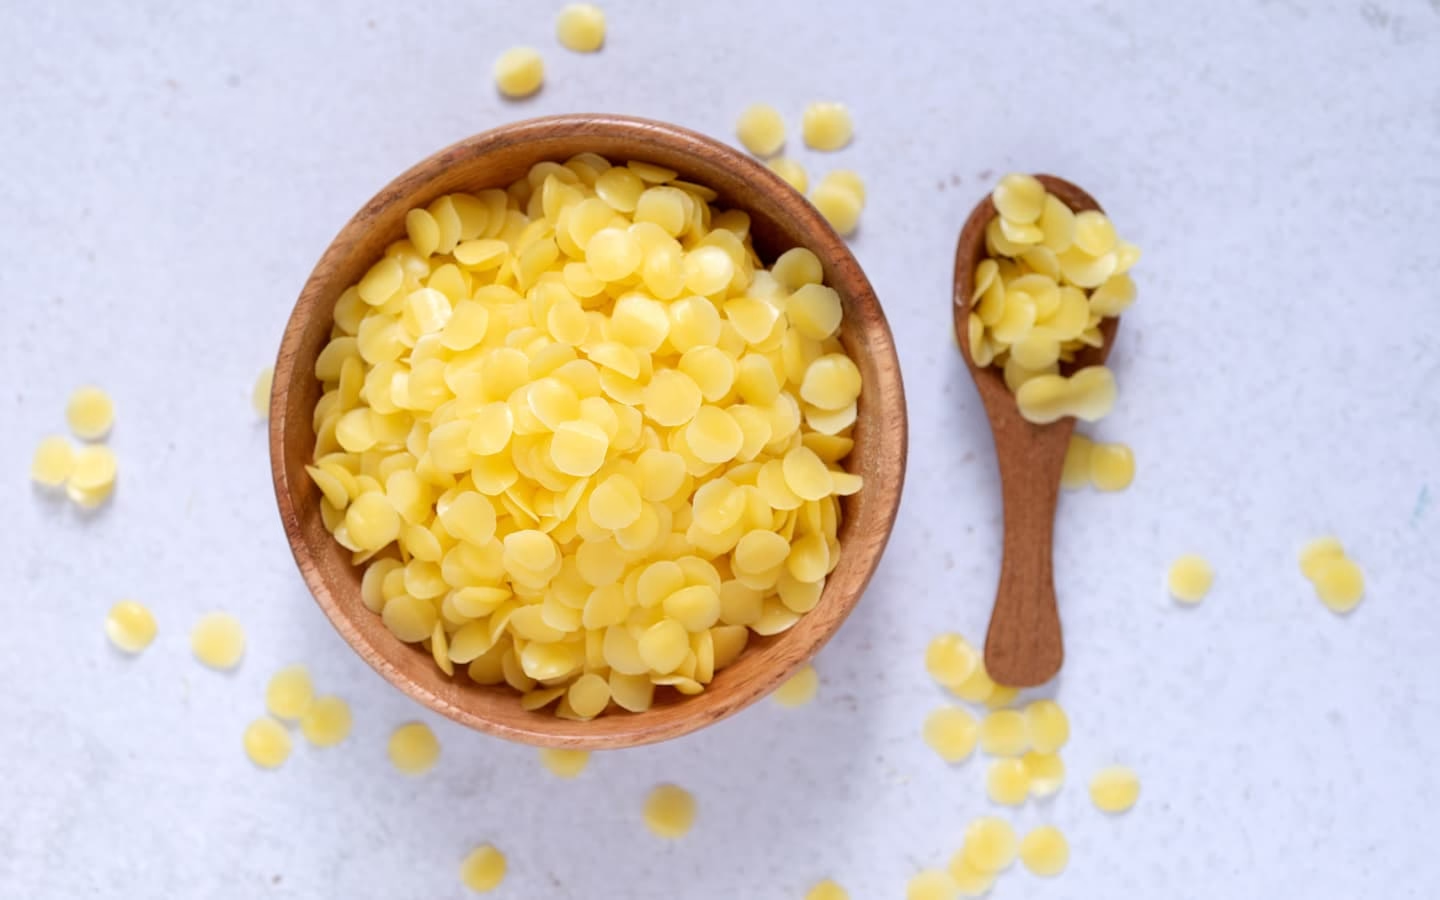
1. Beeswax
The star of the recipe, beeswax, gives your lip balm structure and provides a protective layer on your lips.
2. Base Oils
Coconut oil, sweet almond oil, or olive oil are great options for nourishing and softening your lips.
3. Add-Ins
- Shea Butter: Adds extra creaminess and hydration.
- Vitamin E Oil: Acts as a natural preservative and boosts skin health.
- Essential Oils: Peppermint, lavender, or vanilla for fragrance and added benefits.
Step-by-Step Guide to Making Beeswax Lip Balm
1. Gather Your Materials
You’ll need:
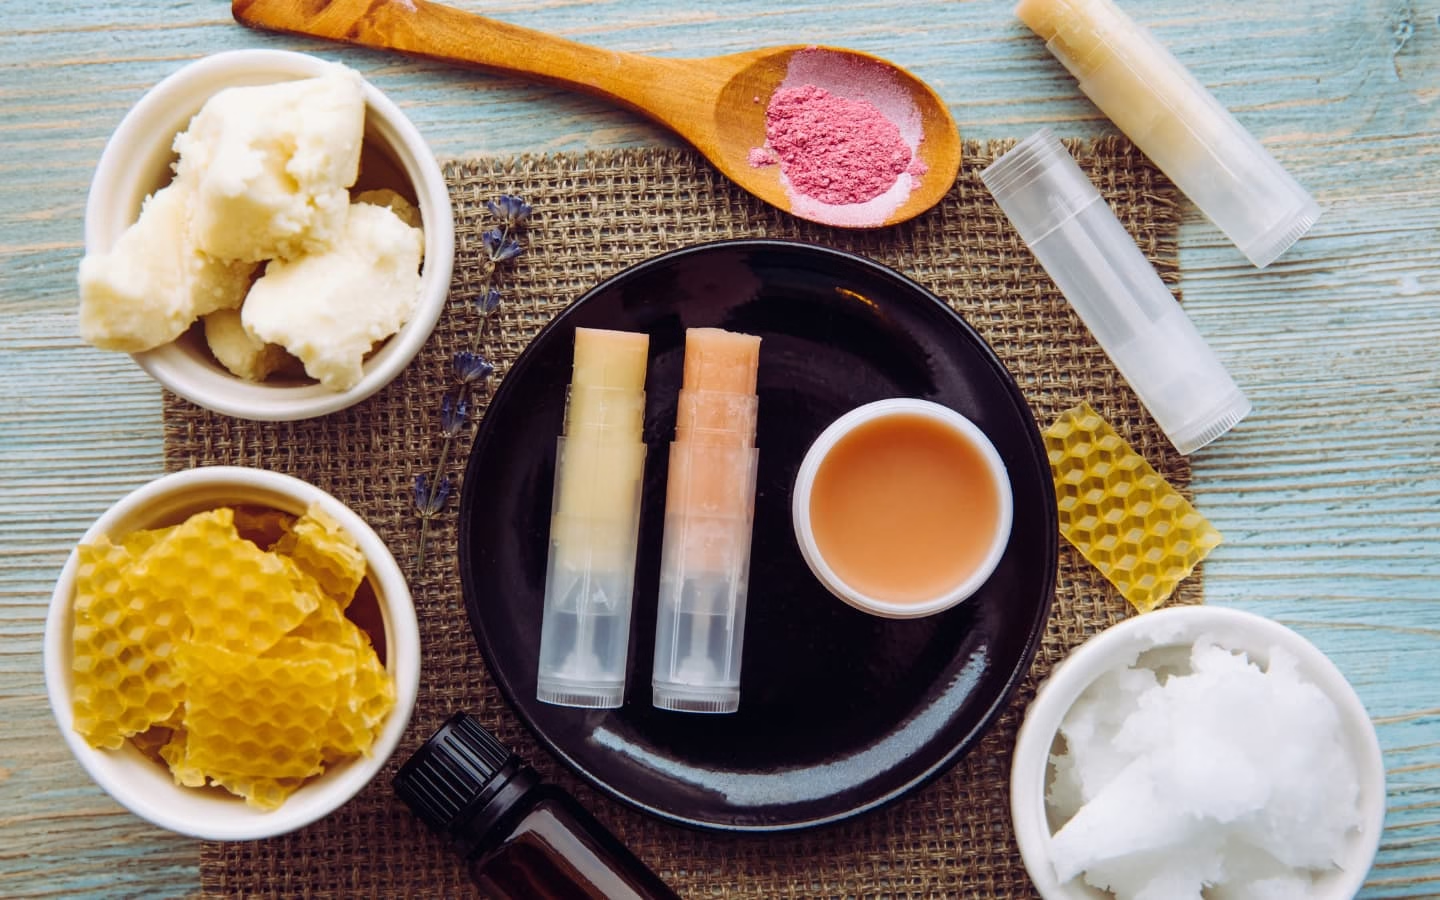
- Ingredients: Beeswax pellets, coconut oil, shea butter, and essential oils.
- Tools: Double boiler, stirring spatula, and lip balm containers (tubes or tins).
2. Melt the Ingredients
- Combine 1 tablespoon of beeswax, 2 tablespoons of coconut oil, and 1 tablespoon of shea butter in a double boiler.
- Heat gently until all the ingredients are fully melted, stirring occasionally.
3. Add Optional Ingredients
- Remove the mixture from heat.
- Stir in 5–10 drops of your chosen essential oil and a few drops of vitamin E oil.
4. Pour and Cool
- Quickly pour the melted mixture into clean, dry lip balm containers.
- Allow the balm to cool and solidify for 1–2 hours before use.
Tips for Customizing Your Lip Balm
1. Adding Colors
For a tinted balm, mix in natural colorants like beetroot powder or mica for a subtle hue.
2. Adjusting Consistency
- Want a firmer balm? Add more beeswax.
- Prefer a softer texture? Increase the amount of coconut oil or shea butter.
3. Choosing Scents
Popular essential oils include peppermint (cooling), lavender (calming), or vanilla (sweet and soothing).
Storage and Usage Tips
1. Proper Storage
Store your lip balm in a cool, dry place to prevent it from melting or separating.
2. Shelf Life
Homemade lip balm typically lasts 6–12 months. Discard if you notice changes in texture, smell, or color.
3. Travel-Friendly Options
Use small tins or tubes for a convenient, mess-free solution to keep your lips moisturized on the go.
Conclusion
Crafting your own beeswax lip balm is a fun, rewarding way to care for your lips while embracing natural, chemical-free skincare. With this simple recipe, you can create a lip balm that suits your preferences and leaves your lips feeling soft and hydrated.
Ready to dive into more DIY beauty? Explore our blog for more recipes and tips to elevate your skincare routine!
Incorporate this lip balm into your daily self-care ritual with ideas from our guide here.


1 thought on “Beeswax Lip Balm Recipe: Step-by-Step Guide”